A conversation pit sofa can fill the center of a room with one generous, low lounge. Leave room around its edges to reach the next room, open the cabinet, and approach the seating.
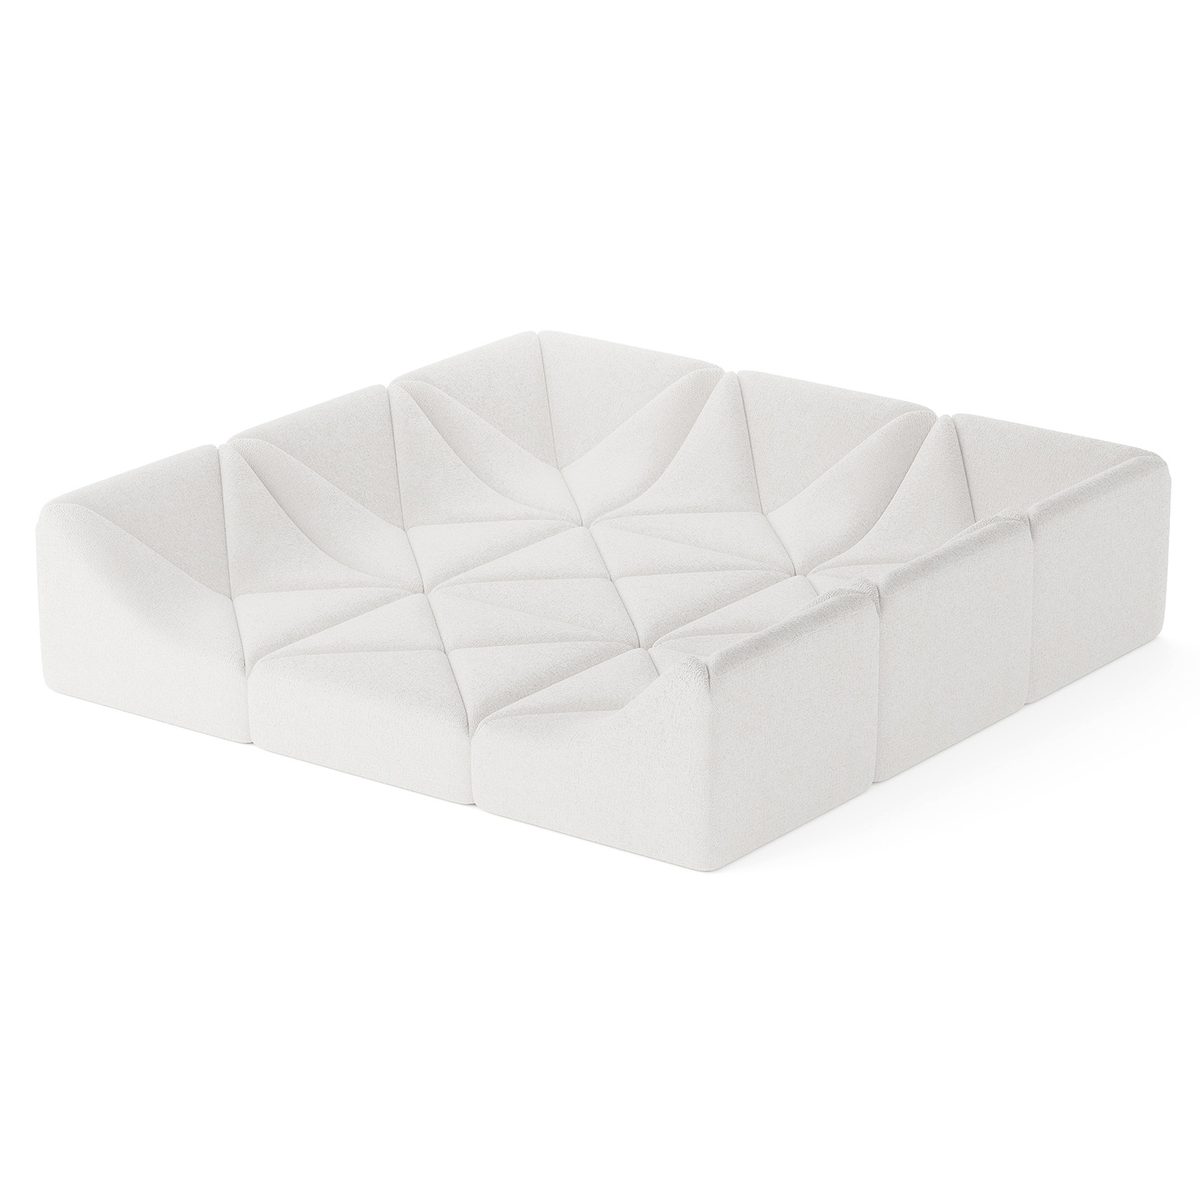
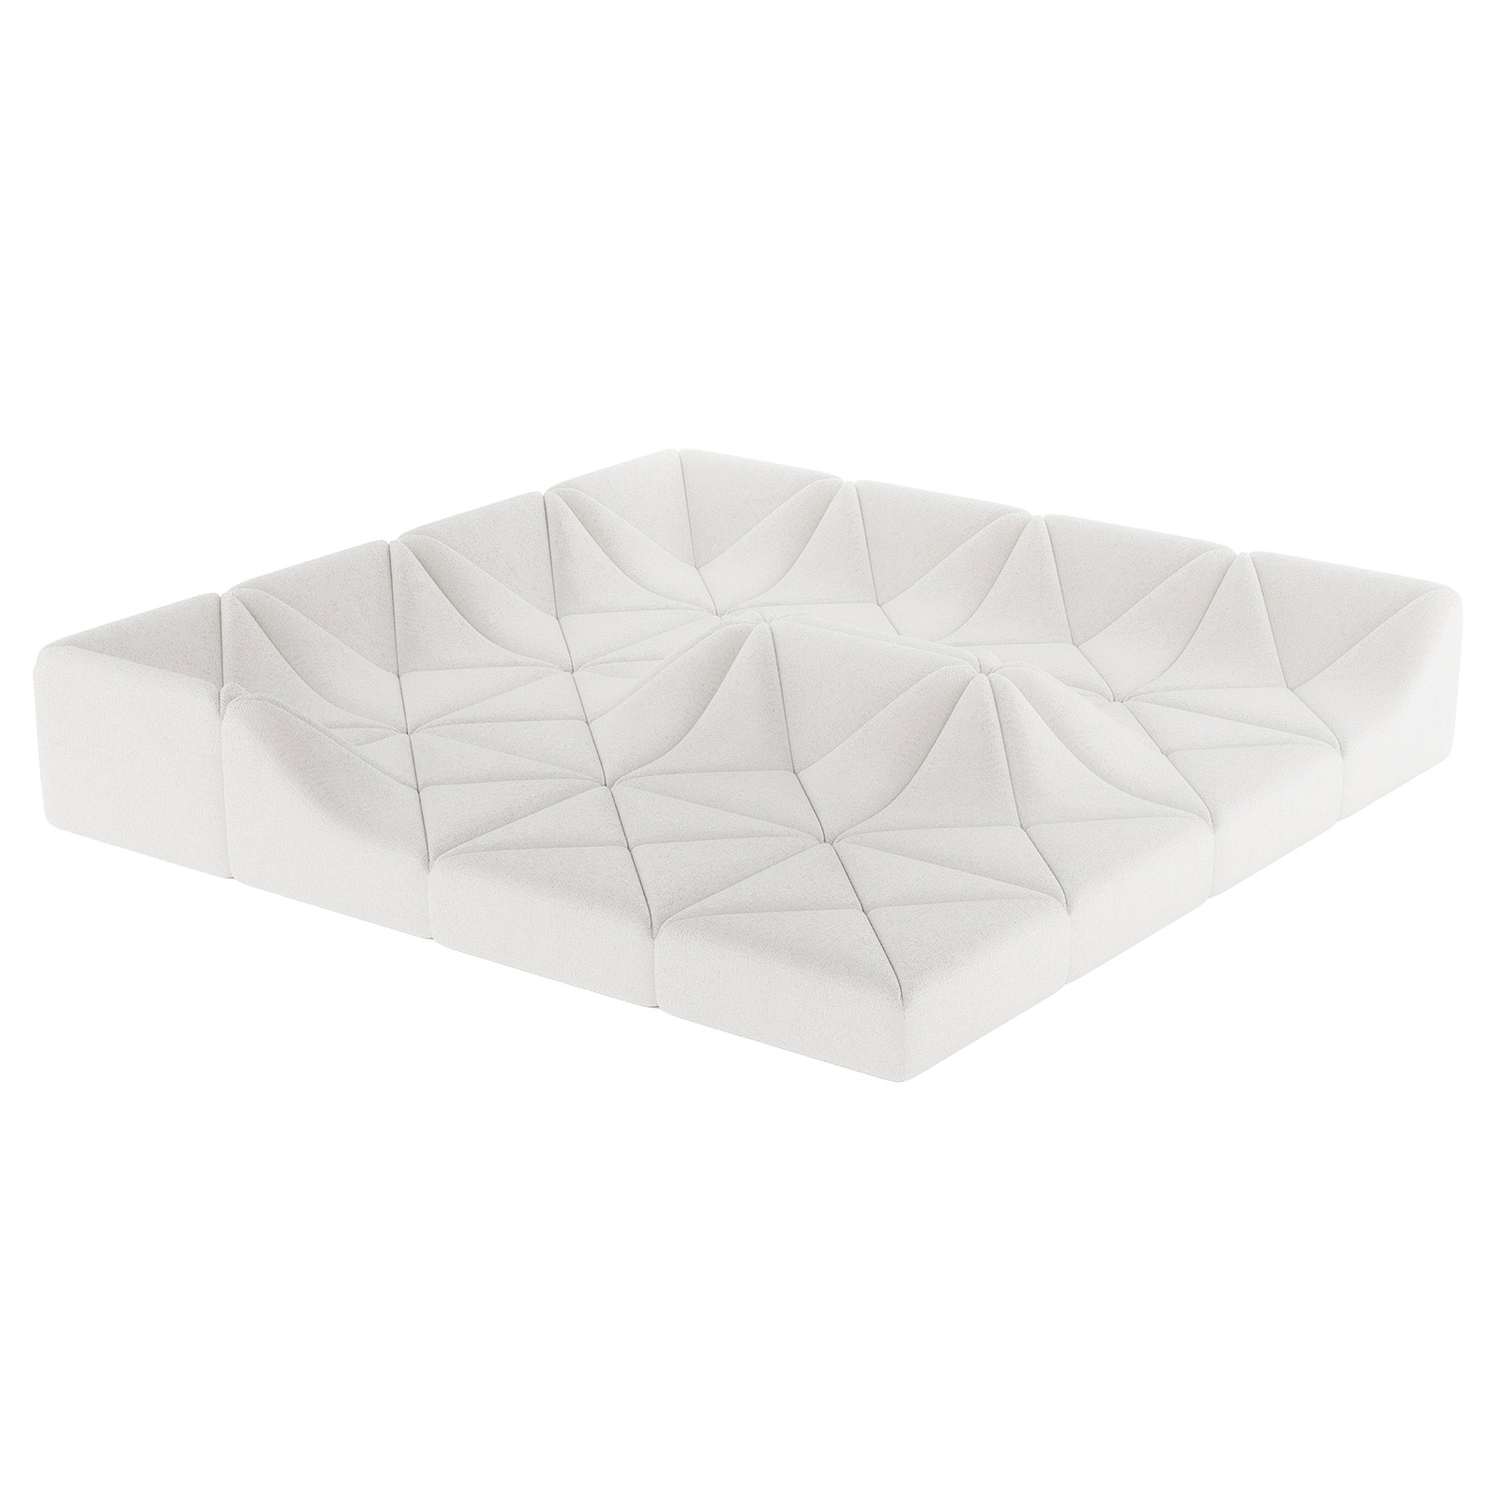
Start with two measurements: the sofa's footprint, meaning the floor it occupies, and the space you want around it. Our Conversation Pit measures 82.5 inches square; the Large Conversation Pit measures 110 inches square. Neither measurement includes walking routes or other furniture.
This guide uses those two configurations of the Daedalus Low-Profile Modular Floor Sofa to work through room size and placement. Both are freestanding furniture at your existing floor level. Planning a built-in, sunken room is a separate construction project.
Have a tape measure, a room sketch, and floor-appropriate removable tape ready. You'll compare the footprints, map your daily routes, then test a full-size outline before choosing a layout.
1. Choose a footprint to test
The two square layouts use modules measuring 27.5 × 27.5 inches. The Conversation Pit occupies a three-by-three grid; the Large Conversation Pit occupies a four-by-four grid.
| Configuration | Complete footprint | Modules included |
|---|---|---|
| Conversation Pit | 82.5 × 82.5 in (6 ft 10.5 in square) | 9: 5 Low-Back, 2 Corner, 2 Ottoman |
| Large Conversation Pit | 110 × 110 in (9 ft 2 in square) | 16: 7 Low-Back, 5 Armless, 2 Corner, 2 Ottoman |
Module counts describe the pieces in each arrangement, not the number of people it seats. For room planning, use the complete outside dimensions rather than trying to estimate size from a photograph.
These diagrams use the same scale, so you can compare their size directly. The grids show occupied floor area; they do not specify backrest positions. The center squares are part of the sofa footprint, so don't count them as open floor for a coffee table.
2. Draw the room you actually use
Measure the room's width and depth, then add the things that interrupt that rectangle. A wall-to-wall measurement can look promising while a doorway or cabinet changes where the sofa can go.
On your sketch, mark:
- Doorways, the direction doors swing, and entrances without doors.
- Cabinets and drawers, including the space they occupy when open.
- Existing furniture and projecting features that reduce available floor space.
- The routes you take between entrances, adjoining rooms, storage, and seating.
Trace those routes before placing the sofa. If you regularly cross the living room to reach the kitchen, show that whole journey. A gap along one sofa edge is useful only if it connects to where you need to go.
Add the footprint of any table or lamp you intend to keep beside the lounge. For example, a side table between the sofa and wall uses part of that gap; the full wall-to-sofa distance is no longer available for walking there. Keep these pieces on the sketch as you compare layouts.
3. See what both layouts leave in a 12-foot room
Consider a hypothetical, empty room measuring 12 × 12 feet, or 144 × 144 inches. Put each sofa exactly in the center, with its sides parallel to the walls.
The calculation is the room width minus the sofa width, divided between its two sides:
- Conversation Pit: (144 − 82.5) ÷ 2 = 30.75 inches per side.
- Large Conversation Pit: (144 − 110) ÷ 2 = 17 inches per side.
These calculated gaps do not establish whether either layout suits a 12-foot room. The example excludes doors, cabinets, other furniture, and the space your household needs to move. Its purpose is to show how much of the same room each footprint occupies before those details enter the plan.
Calculate the space for your own placement
For a rectangular planning zone with the sofa parallel to its edges, add the allowances you choose on each side:
Zone width = sofa width + left allowance + right allowance.
Calculate depth the same way, using the allowances at the other two edges. Those allowances can differ: a through-route and an edge beside a wall serve different purposes.
As an arithmetic example, choosing 36 inches on all four sides gives a 154.5-inch-square zone for the Conversation Pit, or 12 ft 10.5 in square. For the Large Conversation Pit, it gives a 182-inch-square zone, or 15 ft 2 in square.
Here, 36 inches is simply an example input. It is not a recommended clearance, minimum room size, or code or accessibility rule. Replace it with allowances appropriate to your room and the routes you're testing.
4. Place the sofa around your main route
A floating sofa sits away from the walls. In an open-plan room, you can use its edge to mark where the lounge ends and the adjoining space begins. Start by positioning that edge beside the through-route on your sketch, then check how you would approach the seating.
Floating doesn't require centering. The equal gaps in the diagrams make the comparison clear, but your doorway may call for more space on one side. Moving the footprint toward one wall increases the gap opposite it while reducing the gap behind it.
Room-edge placement is worth testing when you want to concentrate open floor on a particular side. Check what happens along the wall as well: a cabinet still needs to open, and an entrance still needs a connected route into the room.
Choose between these placements by tracing the same daily journey on each sketch. If one sends you around an extra corner or into a narrowing gap beside another piece of furniture, revise it. Symmetry is a visual choice; access has to work in the actual room.
5. Tape the outline and walk the routes
Take the preferred sketch onto the floor. Use removable tape suitable for the surface, then work through the layout at full size:
- Mark the complete outside square. Measure both directions so the footprint is 82.5 × 82.5 inches or 110 × 110 inches. Treat everything inside the outline as occupied by the sofa.
- Represent the surrounding furniture. Keep existing pieces in their planned positions where practical, or mark their footprints too. Include the table you intend to add.
- Walk from each entrance to the places you use. Stay outside the sofa outline. Check the turns and gaps beside other furniture, as well as the straight sections.
- Open doors, cabinets, and drawers. Check their movement against the outline and whether you can stand where you need to use them.
- Revise any conflict and repeat. Shift the outline toward a room edge, change the surrounding furniture plan, or test the smaller square. Walk the full route again after each change.
If a square lounge keeps interrupting a route you need, compare the other modular sofa layouts in our guide. A different shape may suit that room's circulation better.
Finish the tape test by walking each planned route without stepping inside the sofa outline, then opening and using the doors and storage you marked. It checks floor planning; it does not assess seating comfort, delivery access, or code compliance.
Keep a photo of the outline and your final measurements. With the room plan settled, view the Low-Profile Modular Floor Sofa configurations and match your chosen footprint to its pictured arrangement.